Before the start
The purpose of doing this is finish the 19th Xun Fei smart car track line following part job.
The approach to accomplish this involves resizing and cropping the image, followed by blurring, edge detection, erosion, and then detecting the track edges to achieve the goal of line following.
Looks like this:
The Prepare for image
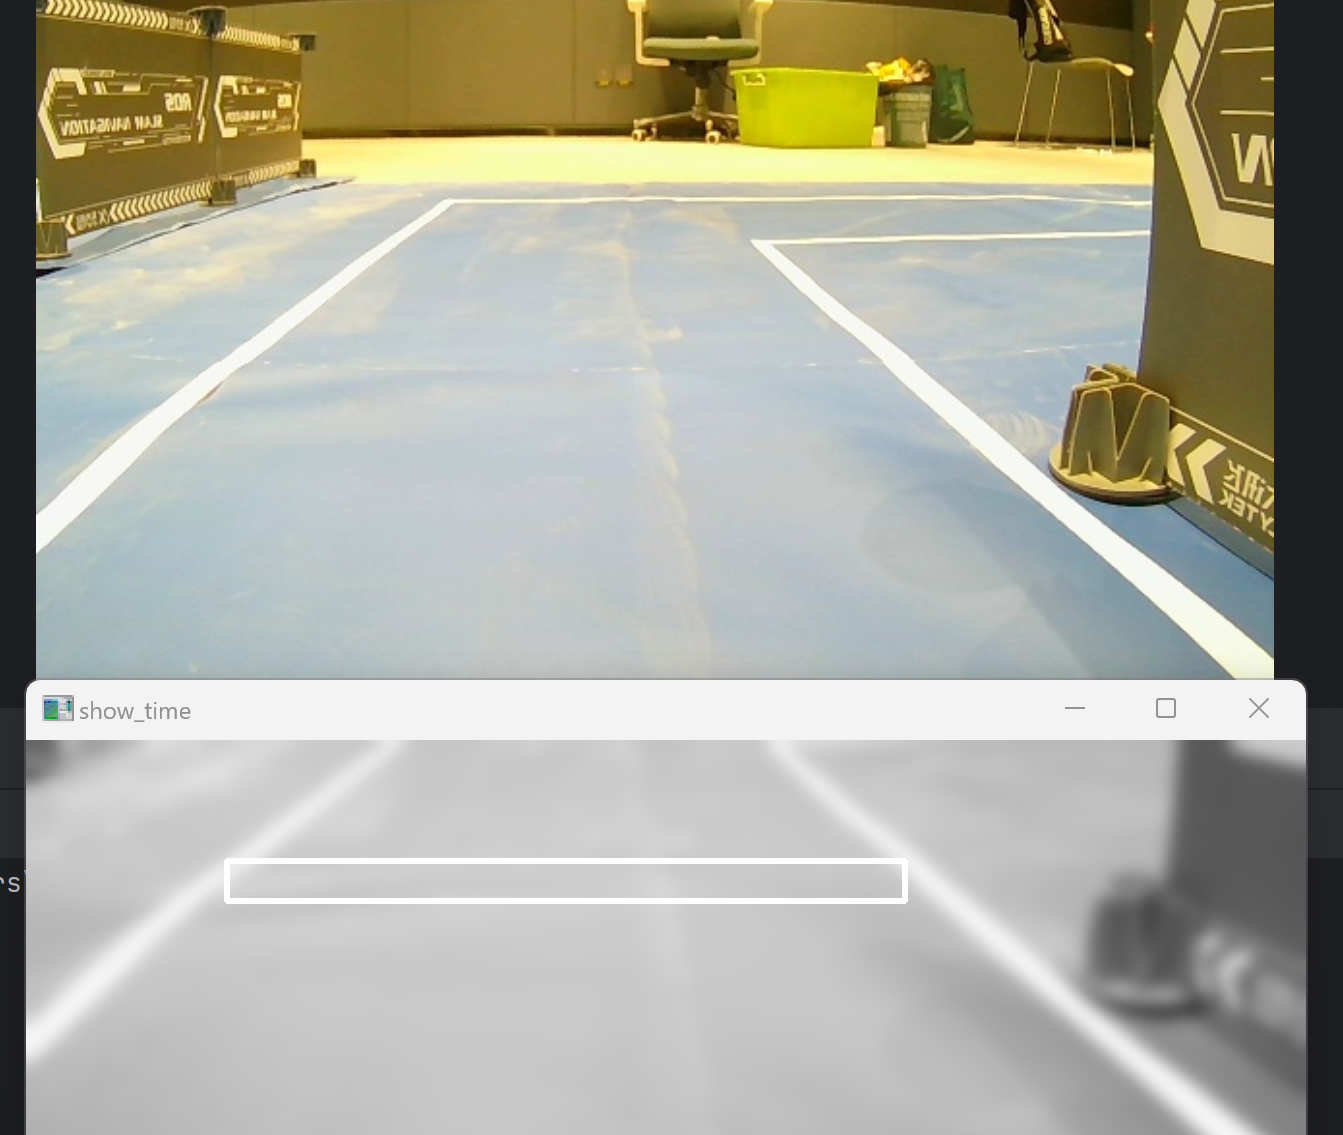
We just need to cut the half size of image because of that`s the only part for us to take care of.
    raw = get_from_file()
    start_location_x = 0
    start_location_y = 240
    end_location_x = 640
    end_location_y = 480
    # 在意的图像范围,即线条出现的图像范围


    in_doing = raw[start_location_y:end_location_y, start_location_x:end_location_x]
And for doing of edge detection algorithm, we need do Gaussian Blur for image to avoid the noisy in image.
Edge Detection Algorithm
convolution kernels
We need to first understand the concept of convolution kernels.
Imagine there is a 3x3 matrix filled with numbers.
[[1,1,1]
 [1,1,1]
 [1,1,1]]
As we know, the image was been storage in computer to be a large matrix witch the size was depended on the size of image and the bit.
In this examples, a 640*480 full color image looks like: [640,480,3].
That 3 means the each channel of R, G, B this three colors. But the convolution kernels don`t like the RGB, besides, we are wishing for a grayscale image witch looks like the Witness for the Prosecution.
Now, there are a kernel:
[[0,1,2]
 [0,1,2]
 [0,1,2]]
Now we overlap the convolution kernel with the image. And movie the kernel for each pix. In each steps, we multiply the matrix of the convolution kernel by the matrix of the image underneath it, and storge the output in to a new image.
Now we focus on the number witch higher than avg. That`s the edge of left was white and right was black`s pix, which was the half of edge we are looking for.
Based on that, you could change the kernel`s shape and number inside to finger out different kind of edge.
Like this kernel could find the both side of edge:
[[0,1,0]
 [0,1,0]
 [0,1,0]]
There are more lessons you could find on youtube:
To Find the edge`s location
erode
Despite applying filtering earlier, interference from noise is inevitable.
To eliminate interference, we use the erosion algorithm.
    kernel = np.ones((3, 7), dtype=np.uint8)
    edge_get = cv2.erode(edge_get,kernel,1)
    kernel = np.ones((3, 3), dtype=np.uint8)
    edge_get = cv2.erode(edge_get, kernel, 3)
looks very similarly for before post, but it works by eroding away smaller areas, leaving behind larger areas.
Find high value part
Just use the NumPy grammar.
def find_value_faster(img11):
    left_start=0
    right_start=640
    up_start=60
    down_start = 80       # 提取需要处理的部分图像
    img_part = img11[up_start:down_start, left_start:right_start]         # 将图像转换为布尔类型的数组,表示像素值是否大于等于128
    bool_img = img_part >= 128         # 沿水平方向对布尔数组进行求和,得到每列像素值大于等于128的数量
    finally_list = np.sum(bool_img, axis=0)
    pressed_pix = 2  # 请替换为合适的值
    # 计算中间数值
    mid_num = int((right_start + left_start) / 2)
    i = 320
    while finally_list[i] <= pressed_pix and 1<i<639:
        i = i + 1
    right_line = i
    i =320
    while finally_list[i] <= pressed_pix and 1<i<639:
        i = i - 1
    left_line = i         # 查找右边界
    pressed_pix = 10  # 请替换为合适的值
    line = (left_line + right_line) / 2
    return line, left_line, right_line

Comments 1 条评论
!!!